
Linux—多项目部署
[TOC]
在多项目部署上,用的nginx进行代理转发,遇到了不同的问题,配置多次,进行测试。最后达到了想要的效果。特地记录下,防止下次在走丢。。。
项目:
基于vuepress的个人博客 blog
在github找的一个vue搭建的官网项目 website
前面介绍的vue-admin-template项目 contract
需求:实现三个项目都可以访问使用。
环境及项目部署测试
linux 8.0
nginx version: nginx/1.14.1
mysql 8
部署项目
1、将 blog项目打包后(dist),传到服务器上,路径 /home/,上传完后,修改dist为blog

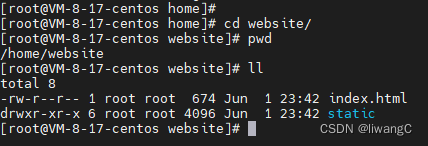
2、将website项目打包后(dist),传到服务器上,路径/home/,上传后,修改dist为website。
3、将contract前端项目打包后(dist),传到服务器上,路径/home/,上传后,修改dist为contract;并且将后端项目jar文件也上传到/home/contract/下;并且将sql文件也上传到相应目录,我自己传到了contract下,用于导入mysql中。
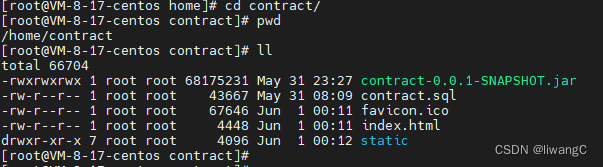
关于linux的操作,上面所用的都是基础操作,就不介绍了。主要是cp、mv、ls等。
将contract项目中的sql文件导入mysql数据库中:
登录mysql。输入mysql -u root -p后输入mysql密码
创建数据库contract
导入sql文件。输入source /home/contract/contract.sql

配置Nginx
上面的步骤仅将项目部署到了相应的目录下,如果想要通过域名访问,需要配置相应的转发代理等,我用的Nginx。另外,因为是想要通过域名访问,准备域名:www.fuzm.wang和ai.fuzm.wang。一个是主域名,一个是二级域名。二级域名根据自己的需求建立并解析到一样的服务器上。
规划:
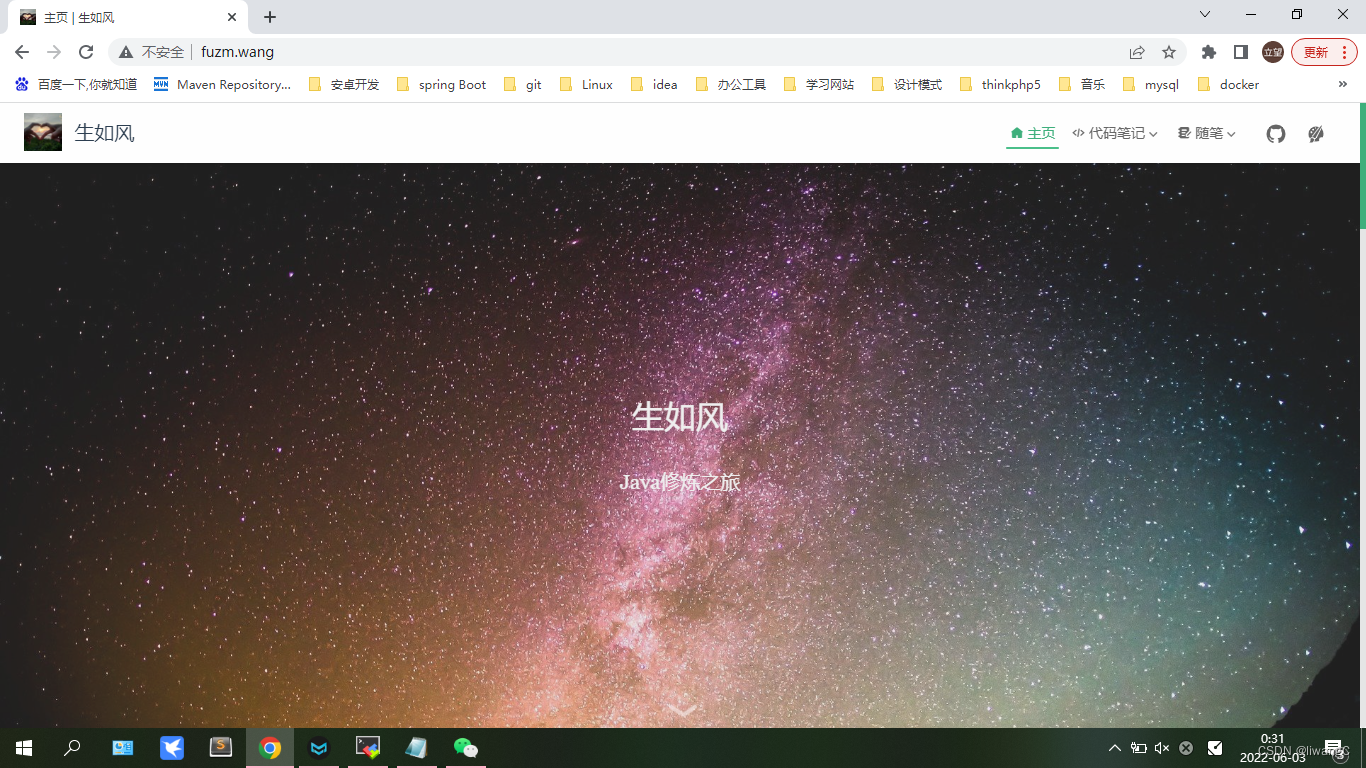
通过www.fuzm.wang直接访问blog项目。网站:http://www.fuzm.wang
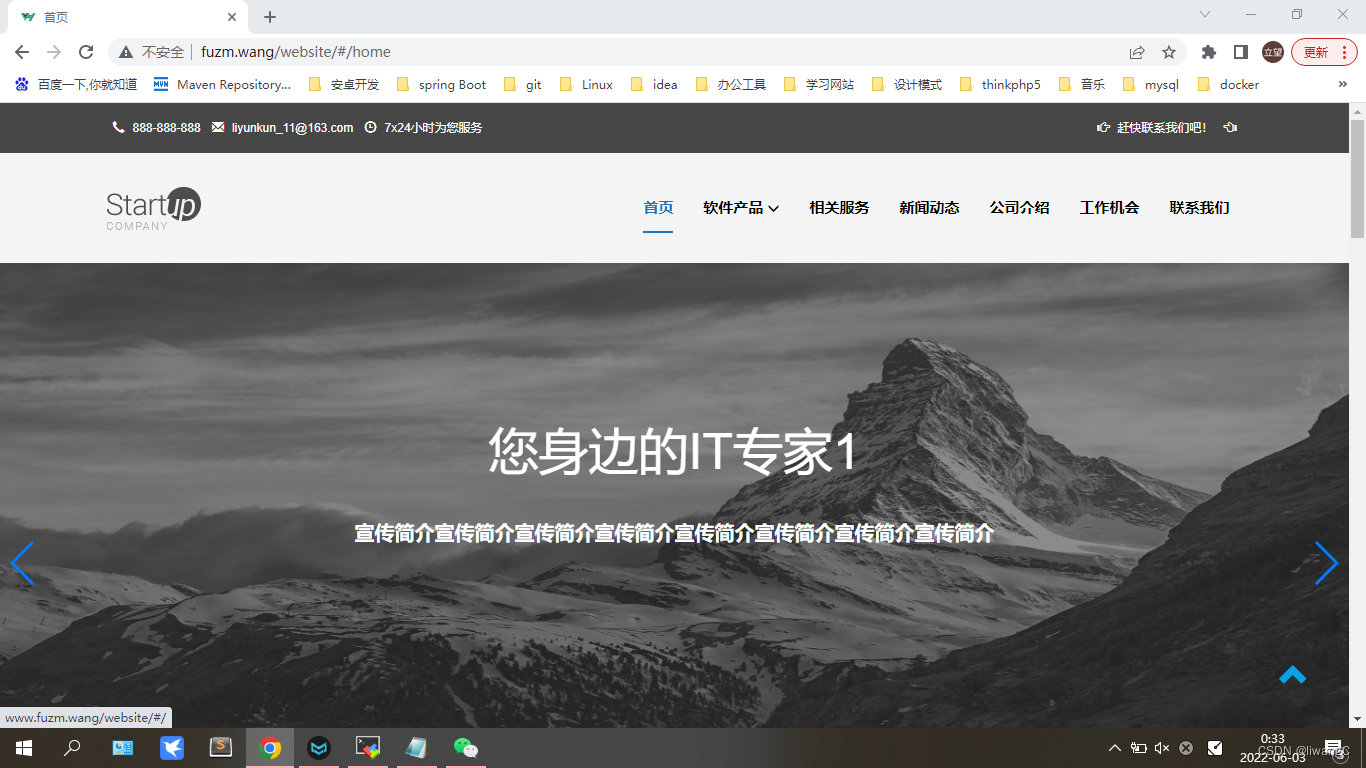
通过www.fuzm.wang加上website项目名称,访问website项目。网站:http://www.fuzm.wang/website
通过二级域名ai.fuzm.wang访问contract的前端。网站:http://ai.fuzm.wang
通过二级域名ai.fuzm.wang/api访问contract的后端接口。
1、编辑nginx配置文件nginx.conf。根据自己安装的来
vim /etc/nginx/nginx.conf
2、添加blog的访问配置
在nginx.conf的server节点中配置如下
location / {
    root /home/blog/;
    try_files $uri $uri/ @router;
    index index.html index.htm;
}

location @router {
    rewrite ^.*$ /index.html last;
}
这里用了try_files来匹配访问的路径。具体可以参考这篇文章了解一下:
nginx中alias、root、try_files的用法_My_Bells的博客-CSDN博客_alias try_files
配置后的server节点如下:
server {
        listen       80 default_server;
        listen       [::]:80 default_server;
        server_name  www.fuzm.wang;

        # Load configuration files for the default server block.
        include /etc/nginx/default.d/*.conf;

        location / {
              root /home/blog/;
              try_files $uri $uri/ @router;
              index index.html index.htm;
        }

        location @router {
              rewrite ^.*$ /index.html last;
        }

        error_page 404 /404.html;
            location = /40x.html {
        }

        error_page 500 502 503 504 /50x.html;
            location = /50x.html {
        }
}
3、添加website的访问配置,因为blog和website计划用www.fuzm.wang进行访问,那就都配置在同一个server节点下。
在nginx.conf中继续配置如下
location /website {
    root /home/;
    try_files $uri $uri/ @router_website;
    index index.html index.htm;
}

location @router_website {
    rewrite ^.*$ /website/index.html last;
}
注意看:
lcaltion /website  里的  root  /home/;
这里的配置不能像location /  里的  root  /home/blog/;  一样配成 /home/website
可以看我上面推荐参考的文章。
root的使用,会匹配将/website作为一个url接入访问的链接中,去到/website里查找index。
(1)如果用root /home/website/ 那么nginx会将/home/website/website/中的文件返回。然而我们没有这个
(2)如果用root /home/ 那么nginx会将/home/website/中的文件返回。我们正好是这么部署的。就可以正常访问到。
或者看起来更舒服,明显看出是指向/home/website/下访问的,可以这样:
不用root,使用 alias 配置为如下:
location /website {
    # root /home/;
    alias /home/website/;
    try_files $uri $uri/ @router_website;
    index index.html index.htm;
}
这样的话,因为alias,会直接替换location中的 /website。nginx会将/home/website/中的返回,也正是我们需要的。
小结一下:
root:http://www.fuzm.wang 访问这个,因为用root,nginx会找到/home/blog/下的文件,返回正常。
alias:http://www.fuzm.wang/website 访问这个,因为用alias,nginx会找到/home/website/下的文件,返回正常。
通过浏览器,正常访问这两个网站。目前nginx配置文件server节点如下:
server {
   listen       80 default_server;
   listen       [::]:80 default_server;
   server_name  www.fuzm.wang;
   # root         /usr/share/nginx/html;

   # Load configuration files for the default server block.
   include /etc/nginx/default.d/*.conf;

   # 第一项目:blog配置
   location / {
       root /home/blog/;
       try_files $uri $uri/ @router;
       index index.html index.htm;
   }

   location @router {
       rewrite ^.*$ /index.html last;
   }

   # 第二项目:website配置
   location /website {
       # root /home/;
       alias /home/website/;
       try_files $uri $uri/ @router_website;
       index index.html index.htm;
    }

    location @router_website {
           rewrite ^.*$ /website/index.html last;
    }


    error_page 404 /404.html;
        location = /40x.html {
    }

    error_page 500 502 503 504 /50x.html;
        location = /50x.html {
    }
}
到这里,可以正常通过域名访问这两个项目了

4、要配置template项目了。因为要通过域名ai.fuzm.wang访问,所以就新建一个server节点进行配置了
在上面www.fuzm.wang的server节点下,新建
server {
    listen  80;
    server_name  ai.fuzm.wang;

    location / {
        root /home/contract/;
        index index.html index.htm;
    }
}
这样就可通过http://ai.fuzm.wang访问了前端页面
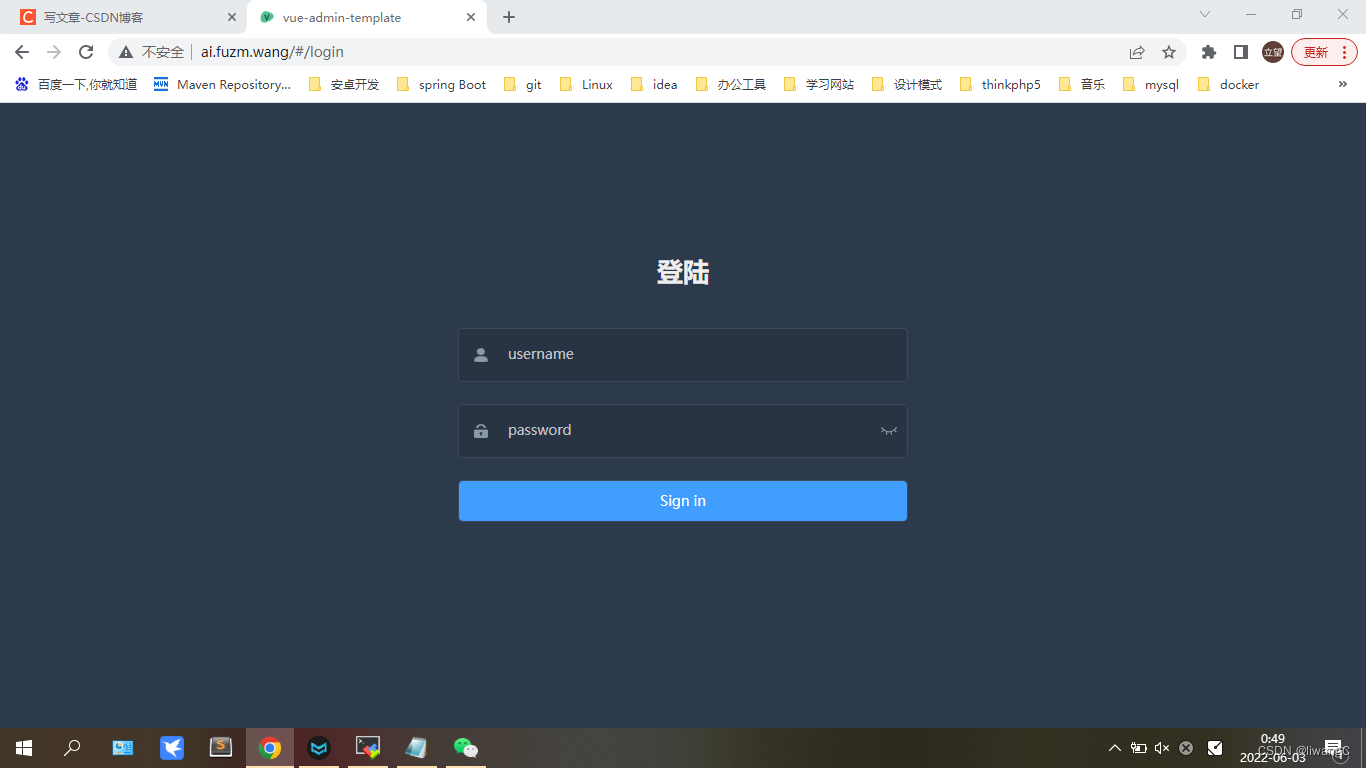
前端的生产环境配置如下:
module.exports = {
  NODE_ENV: '"production"',
  BASE_API: '"http://ai.fuzm.wang/api"',
}
意思就是所有与后端api请求,都是通过"http://ai.fuzm.wang/api"进行交互,比如要访问登录,请求就是:http://ai.fuzm.wang/api/login
后端的配置文件application.yml配置包含如下:
server:
  port: 8082
  servlet:
    context-path: /api
这样的话,这里的/api用于给nginx进行http://ai.fuzm.wang/api访问的匹配转发到8082端口
正常访问了前端页面后,试着登录下:
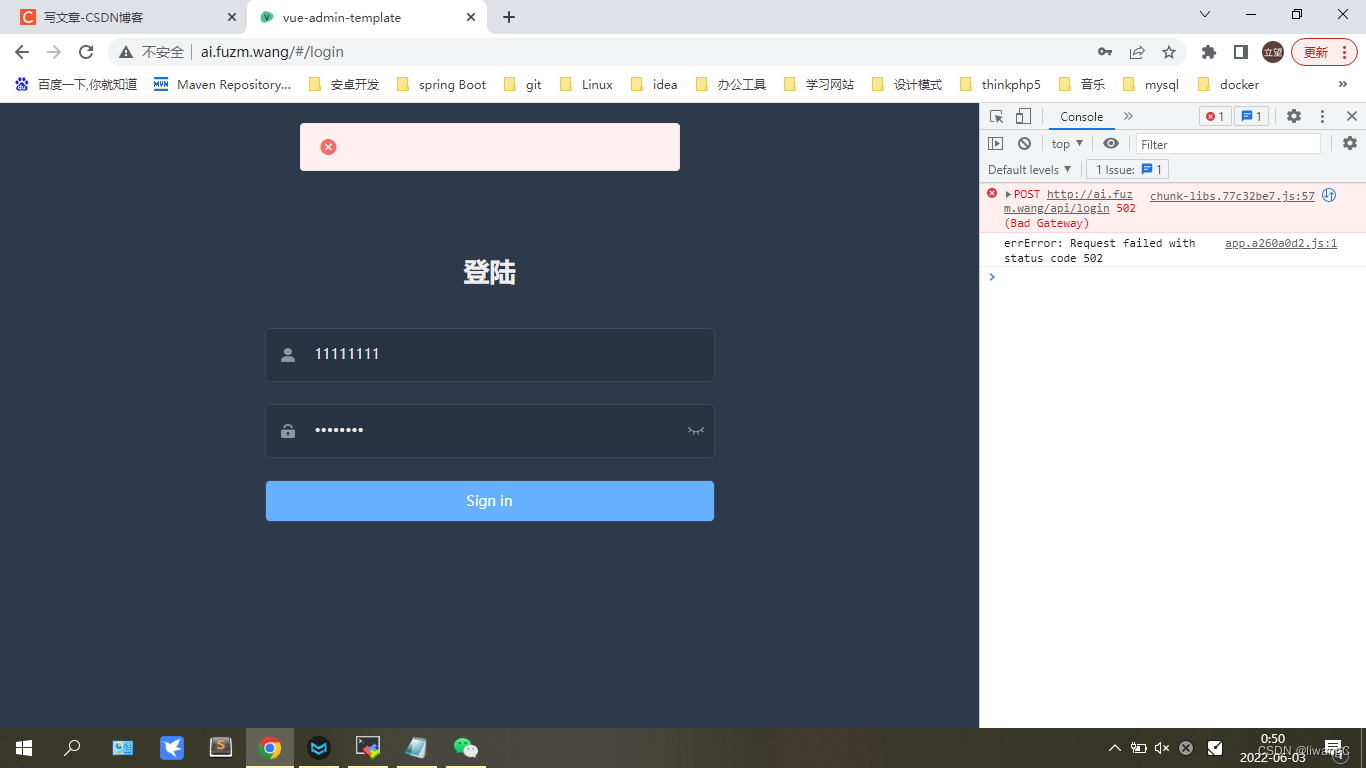
可以发现右侧的报错:POST http://ai.fuzm.wang/api/login 502 (Bad Gateway)
很正常,因为我们后端都没用在运行,访问不了,并且还未配置相应的路由转发。
将jar包运行起来后,会监听8082端口。



说明我们后端jar已经运行起来。这个使用直接在服务器上wget localhost:8082是可连接的。
我们想要使用前端配置的 BASE_API: '"http://ai.fuzm.wang/api 访问后端接口。那就继续配置nginx代理转发:
在上面ai.fuzm.wang的server节点里,添加配置
location /api {
    proxy_pass http://localhost:8082/api/;
    proxy_set_header Host $host;
    proxy_set_header X-Real-IP $remote_addr;
    proxy_set_header X-Forwarded-For $proxy_add_x_forwarded_for;
}
意思就是将请求:http://ai.fuzm.wang/api的请求(也就是前端配置的BASE_API)代理转发proxy_pass到 http://localhost:8082/api/ 下,而这个又是我们后端接口所在。自然的就可以进入我们后端请求中。
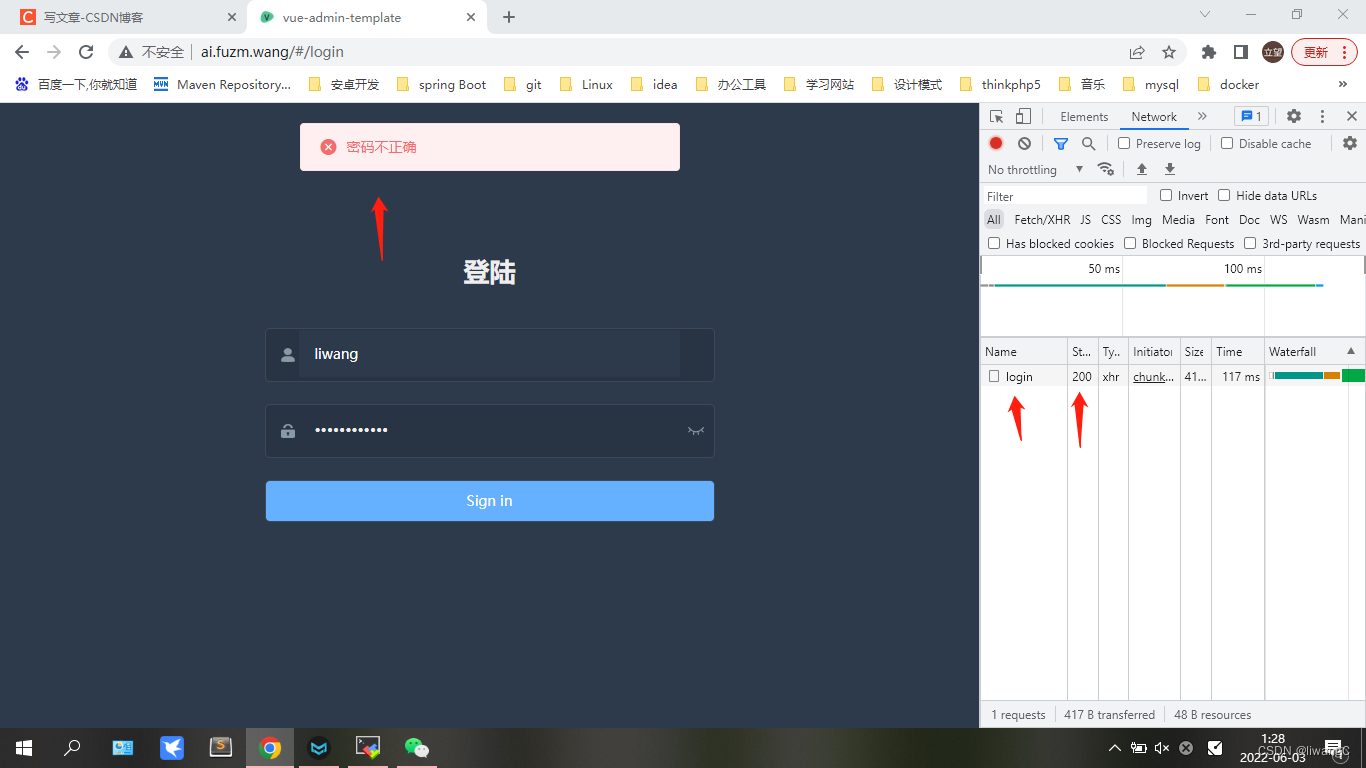
登录,后端返回密码不正确,状态码200。输入正确密码,登录成功,查看请求正常。
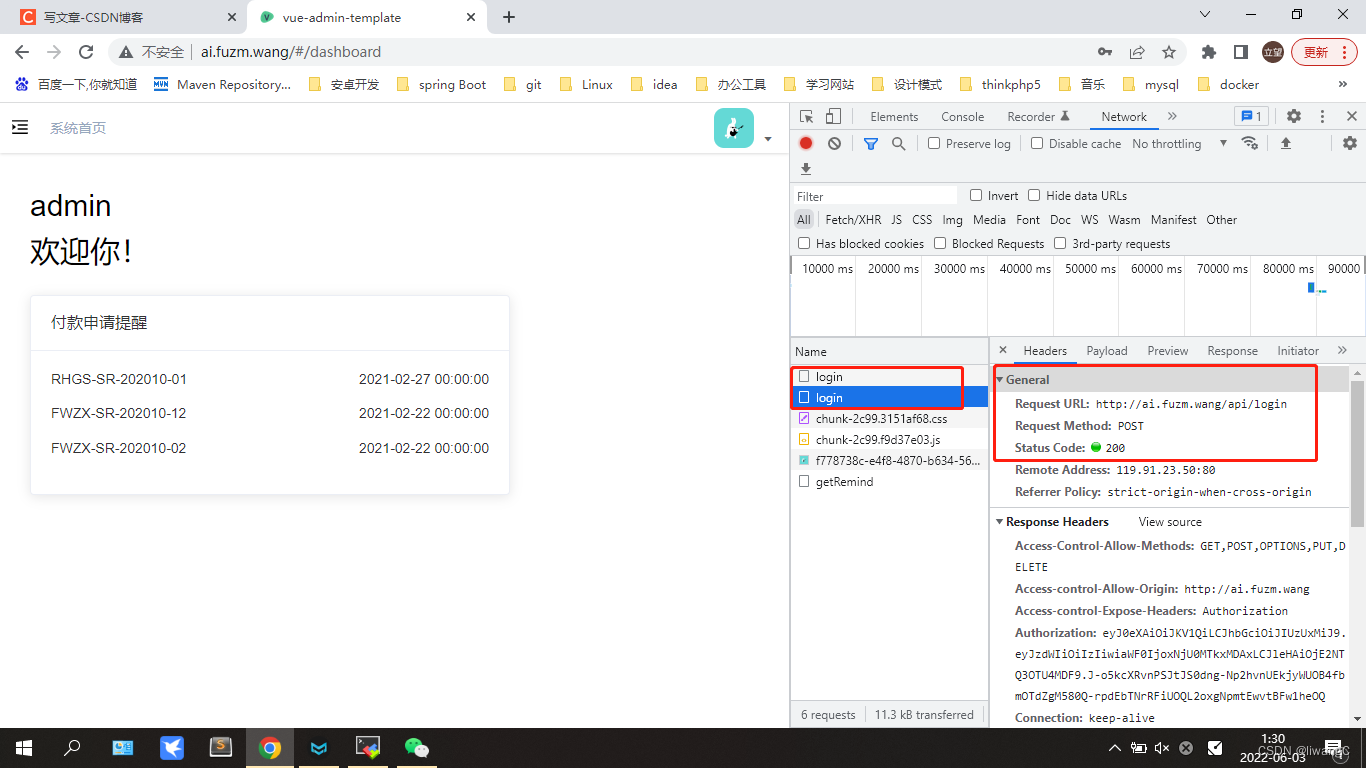
这样,我们就可以通过前端请求访问到我们后端接口了。
附上完整的nginx.conf文件
# For more information on configuration, see:
#   * Official English Documentation: http://nginx.org/en/docs/
#   * Official Russian Documentation: http://nginx.org/ru/docs/

user root;
worker_processes auto;
error_log /var/log/nginx/error.log;
pid /run/nginx.pid;

# Load dynamic modules. See /usr/share/doc/nginx/README.dynamic.
include /usr/share/nginx/modules/*.conf;

events {
    worker_connections 1024;
}

http {
    log_format  main  '$remote_addr - $remote_user [$time_local] "$request" '
                      '$status $body_bytes_sent "$http_referer" '
                      '"$http_user_agent" "$http_x_forwarded_for"';

    access_log  /var/log/nginx/access.log  main;

    sendfile            on;
    tcp_nopush          on;
    tcp_nodelay         on;
    keepalive_timeout   65;
    types_hash_max_size 2048;

    include             /etc/nginx/mime.types;
    default_type        application/octet-stream;

    # Load modular configuration files from the /etc/nginx/conf.d directory.
    # See http://nginx.org/en/docs/ngx_core_module.html#include
    # for more information.
    include /etc/nginx/conf.d/*.conf;

    server {
        listen       80 default_server;
        listen       [::]:80 default_server;
        server_name  www.fuzm.wang;
        # root         /usr/share/nginx/html;
        # root /home/zhaomei/fzm;

        # Load configuration files for the default server block.
        include /etc/nginx/default.d/*.conf;

        location / {
        root /home/blog/;
        try_files $uri $uri/ @router;
        index index.html index.htm;
        }

        location @router {
            rewrite ^.*$ /index.html last;
        }

        location /website {
            alias /home/website/;
            try_files $uri $uri/ @router_website;
            index index.html index.htm;
        }

        location @router_website {
            rewrite ^.*$ /website/index.html last;
        }

        error_page 404 /404.html;
            location = /40x.html {
        }

        error_page 500 502 503 504 /50x.html;
            location = /50x.html {
        }
    }

    server {
        listen  80;
        server_name  ai.fuzm.wang;
        location / {
            root /home/contract/;
            index index.html index.htm;
        }

        location /api {
            proxy_pass http://tomcatserver/api/;
            proxy_set_header Host $host;
            proxy_set_header X-Real-IP $remote_addr;
            proxy_set_header X-Forwarded-For $proxy_add_x_forwarded_for;
        }
    }

# Settings for a TLS enabled server.
#
#    server {
#        listen       443 ssl http2 default_server;
#        listen       [::]:443 ssl http2 default_server;
#        server_name  _;
#        root         /usr/share/nginx/html;
#
#        ssl_certificate "/etc/pki/nginx/server.crt";
#        ssl_certificate_key "/etc/pki/nginx/private/server.key";
#        ssl_session_cache shared:SSL:1m;
#        ssl_session_timeout  10m;
#        ssl_ciphers PROFILE=SYSTEM;
#        ssl_prefer_server_ciphers on;
#
#        # Load configuration files for the default server block.
#        include /etc/nginx/default.d/*.conf;
#
#        location / {
#        }
#
#        error_page 404 /404.html;
#            location = /40x.html {
#        }
#
#        error_page 500 502 503 504 /50x.html;
#            location = /50x.html {
#        }
#    }

}
测试
通过浏览器访问以上三个项目都正常,就表示配置成功啦。可以收工了。总感觉好像少了什么,但是一下想不起来。先这样了。
可以看看我的学习——基于Hexo的个人博客: 网站:http://www.fuzm.wang ————————————————————————— 作为初学者,很多知识都没有掌握,见谅,如有错误请指出,以期进步,感谢!。后续有新的学习,继续补充上来。